|
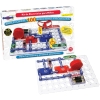
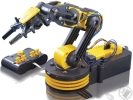
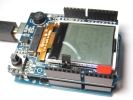
Build robots and contraptions! Experiment with mechatronics using Arduino and LEGO Mindstorms NXT!
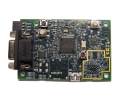
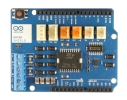
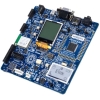
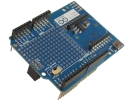
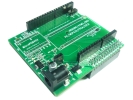
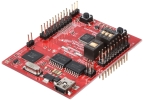
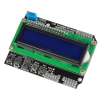
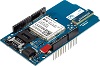
Use the Bricktronics Shield Kit to connect up to two LEGO NXT motors and four LEGO NXT sensors to an Arduino.
■ Supports up to two LEGO NXT motors, and reading their encoders
■ Supports up to four simultaneous LEGO NXT sensors
■ Supports LEGO NXT touch sensors on all four sensor ports
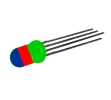
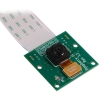
■ Supports LEGO NXT 2.0 color sensor on two ports
■ Supports LEGO NXT ultrasonic sensor on two ports
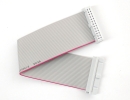
■ Uses NXT cables
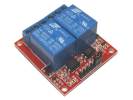
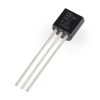
■ Two TIP120 transistors help you switch larger loads
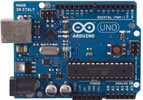
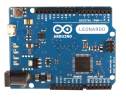
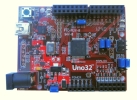
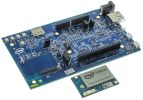
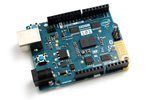
■ Tested compatible with Uno and Duemilanove, but will work on many other Arduino compatibles (contact us for details)
Solder the kit, download the easy-to-use Arduino library, check out the examples, and start building!
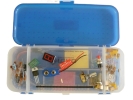
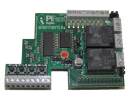
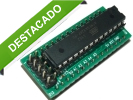
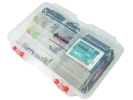
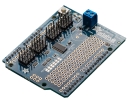
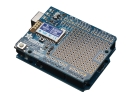
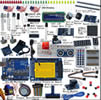
Contenido del Shield
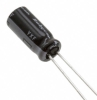
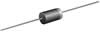
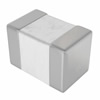
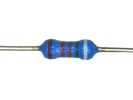
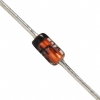
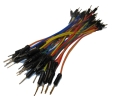
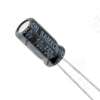
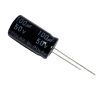
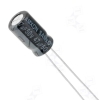
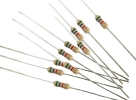
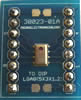
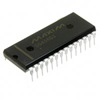
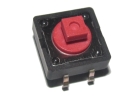
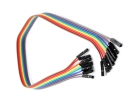
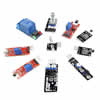
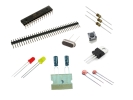
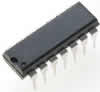
The kit contains a Bricktronics Shield printed circuit board, six custom injection-molded NXT-compatible sockets, five long jumpers, two female four-pin headers, two 0.1 uF ceramic capacitors, two TIP120s, a DPDT switch, a 6mm push button, two 100 kΩ resistors, two 1 kΩ resistors, a 100 uF electrolytic capacitor, a 10 uF electrolytic capactitor, two 1N4001 diodes, a MCP23017 I2C I/O expander, a L293D H-Bridge chip, a 28-pin DIP socket, and headers.
The contents are also listed and explained individually on the Parts List.
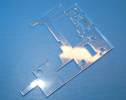
Opciones
The Bricktronics Shield can be purchased in two kit configurations–with stacking headers, or with male headers only. Stacking headers are useful when you want to combine the Bricktronics Shield with non-NXT sensors and motors. You can insert wires into the stacking headers for a temporary connection.
The male headers cost a little less–but we include an extra set of holes next to the header holes in order to make it easy to add things to later, even if you solder in the male headers.
Qué se requiere?
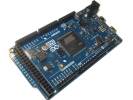
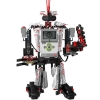
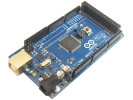
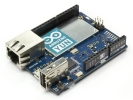
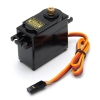
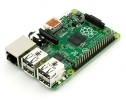
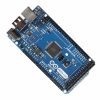
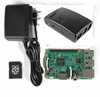
The Bricktronics Shield Kit connects an Arduino to LEGO NXT motors and sensors. Arduino, motors, sensors and NXT cables are not included. The Mindstorms NXT 2.0 set includes three motors, two touch sensors, one color sensor, one ultrasonic sensor, and a variety of NXT cables.
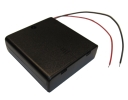
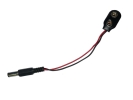
Motors take more power than can be supplied by a USB cable. You typically want about 600 mA per motor, but up to 1000 mA peak per motor. Our 9V 2A wall adapter works great, but any 2.1mm 9V adapter with at least 1.3A should work. If you want to power your creations on the go, our 6 AA battery pack works well.
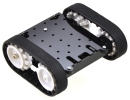
We have mounting plates to attach your Arduino and battery pack to LEGO Technic rods.
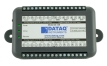
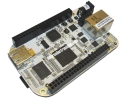
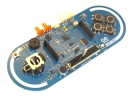
Sensor Ports (A, B, C, D)
The Sensor Ports connect NXT sensors to the Arduino. Because many sensors are wired differently, not all sensors work in all ports.
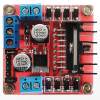
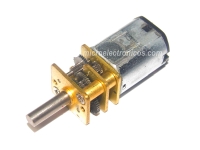
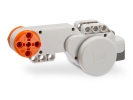
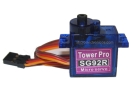
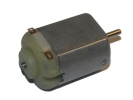
Motor Ports (E, F)
Each Motor Port can drive an NXT Motor and monitor its position using the built-in encoders.
Motor Headers (The leftmost black strips with yellow pins, in front of each motor port)
Each Motor Port has a Motor Header for driving other motors. The top pin is tied to VIN on the Arduino, the middle two are the motor driving outputs from the L293D, and the bottom pin is ground.
Most people probably won't use these, but we've provided it for maximum flexibility.
Do not put jumpers on these pins.
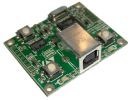
USB Port (G)
This is how the Arduino gets reprogrammed, and if you're not using the Ultrasonic sensor or any motors, the Arduino can get power from the USB port as well.
DC Jack (H)
This jack accepts a 5.5mm/2.1mm jack. It needs to be center positive, and for this shield, you want the output voltage of the supply to be between 7.2 V and 9 V, in order to power the motors and sensors safely. If you're not using motors or the ultrasonic sensor, you can skip this, and just power from the USB port.
Transistor Driver Headers (The "middlemost” black strips with yellow pins)
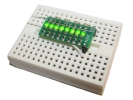
You don't need these to drive NXT motors or sensors, but we found them necessary for a project in Make: Lego and Arduino Projects, so we included them on the shield for everyone. They're used to control voltages greater than 5V, like 12V LED modules.
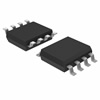
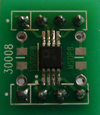
The Bricktronics Shield comes with two TIP120 Darlington transistors. They're set up with current-limiting base resistors. The connections are brought out to the EXT1 and EXT2 headers. Two diodes are included. These are for protecting the Bricktronics Shield when you use the TIP120 to drive an inductive load like a motor.
The Bricktronics Shield v1.03 has two diodes silkscreened on the PCB. These aren't really useful–the TIP120 already had a diode that does that internally. It won't damage anything if you connect a diode to these by mistake. We've included two extra diodes in case you didn't look at the instructions during assembly, and solder in your protection diodes.
Pins de Arduino
The Bricktronics Shield uses a lot of Arduino pins, but if you don't use all the motors and sensors you can get away with reusing many of them. We've included a pin mapping.
Bricktronics Shield v1.03
| Arduino Pin Number |
Function |
| 0 |
not used |
| 1 |
not used |
| 2 |
Motor 1 encoder input 1 |
| 3 |
Motor 2 encoder input 1 |
| 4 |
Motor 2 encoder input 2 |
| 5 |
Motor 1 encoder input 1 |
| 6 |
Sensor 3 GPIO |
| 7 |
Sensor 3 GPIO |
| 8 |
Sensor 2 GPIO |
| 9 |
Motor 2 PWM (speed) |
| 10 |
Motor 1 PWM (speed) |
| 11 |
TIP120 1 base input |
| 12 |
Sensor 2 GPIO |
| 13 |
not used |
| A0 |
Sensor 1 GPIO |
| A1 |
Sensor 2 GPIO |
| A2 |
Sensor 3 GPIO |
| A4 |
Sensor 4 GPIO |
| A5 |
I2C SDA to the IO expander |
| A6 |
I2C SCL to the IO expander |
|


 Facebook
 Twitter
 Linkedin
 Youtube